6 Underwater Macro Photography Techniques

Do you find the tiniest marine life in the ocean to be fascinating? If you get excited about strange creatures like frogfish and nudibranchs, it might be time to investigate the field of macro photography. Envision being able to record the tiniest details of your favourite subjects so you can examine them closely in the future.
Divers of almost any skill level can start with the correct equipment and methods. For La Galigo’s best advice on everything from composition to gear and a few tricks to make you appear less of a novice, keep reading.
What is Macro Photography?
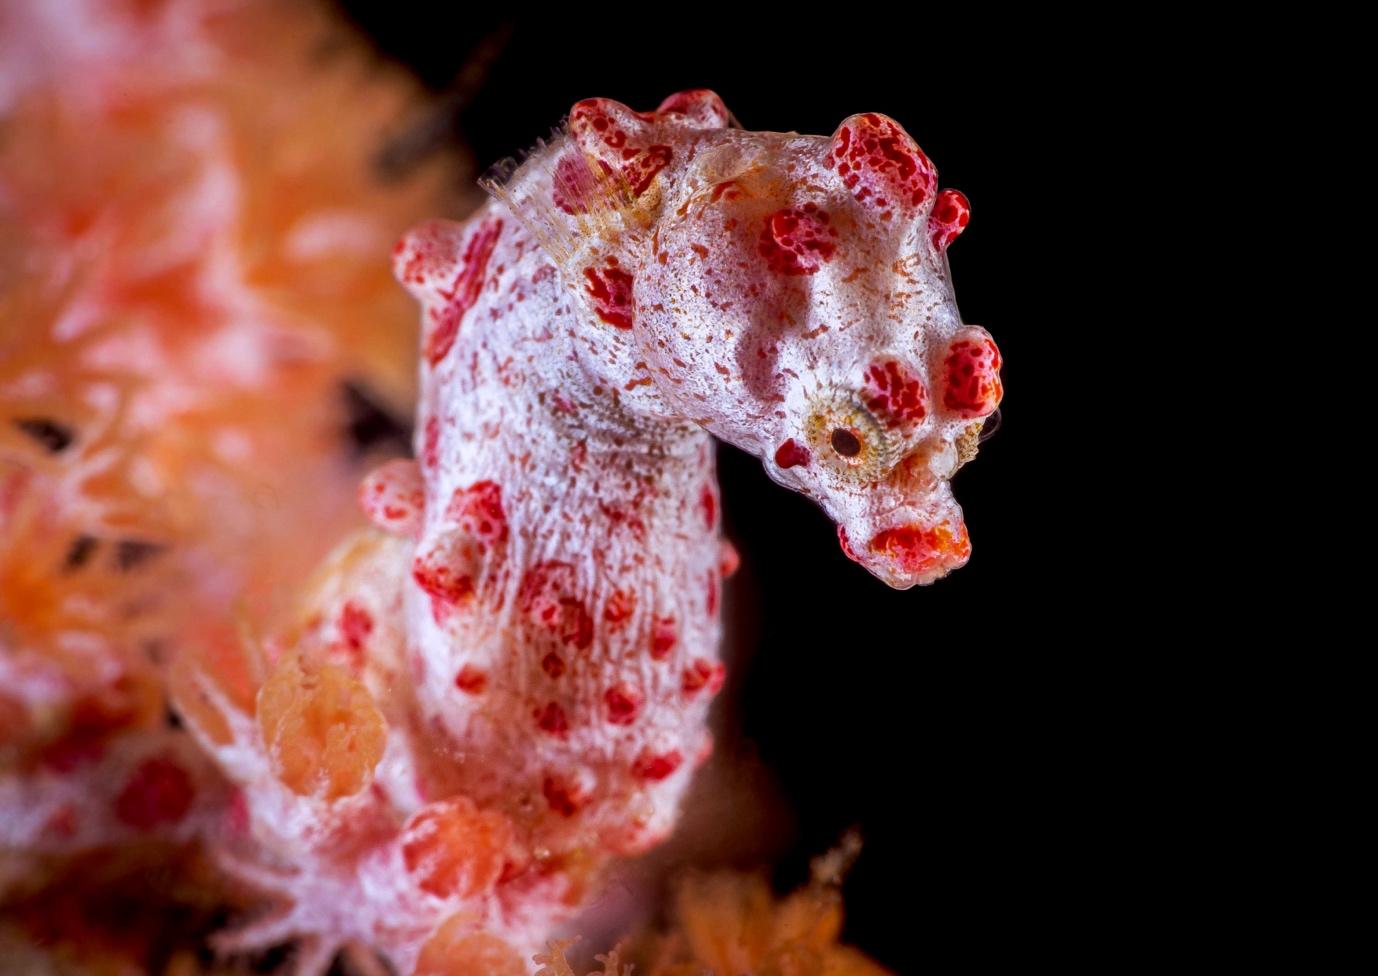
All right, so what exactly is macro photography? Furthermore, why is it called macro as opposed to micro? Dive enthusiasts typically refer to an astounding array of extremely small species when they discuss macro. These can include a wide range of cephalopods, odd, elusive creatures like Rhinopias and bobbit worms, as well as microscopic crabs, shrimp, nudibranchs, frogfish, and pipefish.
These strange wildlife lists may appear random at first, but there is a common element among all of the macro photography subjects. It takes a magnifying lens to fully capture the details of each of these species. Instead of referring to the size of the subject itself, the term “macro” describes the process of fully filling your frame.
There are other settings where you can get amazing photos of life in miniature, even though macro photography is a crucial component of muck diving. A closely focused shot of a shark, for instance, can be obtained using macro photography to capture details of any subject.
Seahorses, nudibranchs, and juvenile reef fish animals that inhabit a diverse range of habitats can also be highlighted with macro photography. Actually, macro photography can be classified by the specific tools needed in addition to the size of the subjects.
The Proper Equipment
Due to their small size, macro species frequently need specialised equipment to be photographed. However, that isn’t always the case. If you have never taken underwater photos before, a point and shoot camera with macro settings built in might be a good place to start. You’ll be prepared to move up to a better and larger camera “rig” once you’ve mastered skills like composition and neutral buoyancy.
Although these larger DSLR setups might seem intimidating at first, you have more control over every picture with these setups than you would with a smaller camera. You can adjust the lighting, shutter speed, aperture, and more!
The type of lens you use and the distance you can get from your subject are the main distinctions between macro and wide angle photography. Wide angle lenses are great for taking landscape photos because they generally let you capture more of the scene in your frame! However, the lens type used in macro photography narrows the field of view to a much smaller area.
Your macro lens will be integrated into your compact camera if that’s the case. However, with more complex setups, you’ll need to bring along a range of lenses for various kinds of photography. You can quickly and easily switch between lenses and fields of view with different setups that make use of specialised ports and even diopters.
Certain types allow you to securely store and swap out lenses while submerged in water. This is crucial when trying to capture “super macro” shots that are incredibly small and call for a much stronger lens.
Remember that in order to capture your subject in detail, you will still need to get close, even with a macro lens. You’ll also need to exercise patience. It takes time to choose the ideal camera settings and to take a range of pictures.
However, with practice, you’ll become quicker and a little more selective, selecting more unique or particular wildlife to photograph rather than utilising the “spray and pray” approach used by the majority of beginners.
Macro Wildlife Lighting
Lighting is almost always necessary for underwater photography. And macro is not any different! Actually, one of the most difficult aspects of taking this kind of picture is lighting because poorly lit little creatures can appear flat or merge into their surroundings. The additional challenge of photographing your subjects up close will also present itself. The built-in flash on small cameras is the first choice for lighting; other options include a variety of strobes, torches, and high-tech devices to help illuminate your subjects.
External lighting accessories known as strobes can be utilised with DSLR or compact cameras. Typically, they will fire automatically when you use connection points, such as fibre optics, to take pictures. Although it’s most common to use two strobes, you can shoot with one, or as many as you like. To get the desired effect, it’s important to place them correctly, select the ideal brightness, and diffuse the light just so.
Macro photographers can also benefit from the use of video lights. These underwater torches provide a steady stream of light and mount to your camera housing. In addition to serving as lighting for action cameras and other photo setups, video lights can be used in place of or in addition to flashes. Consider including a snoot in your lighting setup if you want to achieve the look of a thin beam or “spotlight”; this creative tool can help to precisely illuminate small subjects against a stark black backdrop.
6 Tips and Techniques for Underwater Macro Photography
To improve your underwater macro photography skills and help you succeed in taking underwater macro photographs, consider the following tips and techniques:
1. Selecting Subjects
What makes macro photography so beautiful is the abundance of underwater subjects available. A macro subject can be almost anything, from intricate patterns on coral polyps to tiny fish and bubbles. Though some people think common fish and invertebrates are less exciting, they can still astonish and amaze people who may never get the chance to explore the ocean for themselves.
It’s certainly exciting to find unique and unusual macro subjects, but it can also be rewarding to shoot common subjects. You will be much more likely to encounter these animals if you are aware of their habitats. Prior to entering the water, take some time to research the subject you wish to photograph and familiarise yourself with the local marine life. Successful photographers are able to capture the most fascinating and elusive macro subjects because they have a deep understanding of the habitats they photograph.
For instance, if you dive specifically to look for fire urchins, which are often found there, your chances of finding one and taking a picture of a Coleman shrimp are significantly increased. Likewise, the key to recognising a pygmy seahorse might be in knowing which corals to look at. Your experience with macro photography will be substantially enhanced by doing some preliminary research.
2. Get Close
“Get close, and when you think you are close enough, get closer” is a common phrase in macro photography as well as underwater photography. Minimise the amount of water between you and your subject to produce bright, crisp underwater photos. There are innumerable microscopic particles in water that, while not visually distracting, can distort your photos when lit by strobes. You can go as close as possible when you make the most of your macro lenses’ close-focusing capability.
However, getting close calls for the highest regard for the underwater environment and excellent buoyancy skills. Making sure your dome port has enough space and not damaging the surrounding ecosystem or breaking corals are very important. Stay alert at all times and avoid interfering with or harming marine life. One or two fingers on a dead section of the reef will help you steady yourself as long as your body stays off the reef. Macro lenses’ ability to focus close can make up for some subjects’ tendency to become frightened and run away when approached too closely.
3. Focus on the Eyes
The eyes of the animals should be the main focus of macro photography shots. The eyes have to be the only thing in focus if there is only one. Remember that when choosing a focal point, two thirds of the subject falls behind the point of focus, and one third of the subject is in front of it. Try focusing in the middle of the two, for instance, if you want the mouth and the eyes to be in focus.
It’s crucial to keep the camera and subject positioned parallel if you want the entire subject to be in focus. The majority of the subject’s visible portion is guaranteed to be in the depth of focus with a straight-on side shot, which produces an image of the entire animal that is sharply focused even though it may not always be the most visually appealing.
4. Careful Focusing
The depth of field is extremely shallow when using focal lengths of 60mm and longer when taking macro photos at a 1:1 ratio. This indicates that there is typically very little focus range just a few millimetres beyond the primary focal point. Narrow apertures are often required to produce a focused subject. However, captivating images with a blurred background that pull the viewer in can be produced by using wide apertures with macro lenses at high magnification.
However, wider apertures make it more difficult to focus on the intended plane precisely. A steady hand and subject are crucial at this point. Even with longer focal length macro lenses, getting the precise plane of focus can still be challenging, even with narrower apertures helping to address the depth of field issue. In these circumstances, practice and patience are essential. It is recommended to use small apertures such as f/22 to achieve the maximum depth of field.
The prominence of the subject can be increased by using a low aperture setting to help blur the background. It is crucial to remember that in order to get a properly exposed shot, increasing the aperture to reduce the depth of field necessitates a faster shutter speed and careful lighting control.
5. Focus Bracketing
It can be difficult to focus precisely when there is very little depth of field and the subject is small. Expert macro photographer Keri Wilk advises using the focus bracketing technique in these situations. To make sure the plane of focus is precisely where you want it, you can “bracket focus” by gently shaking the camera as you take multiple exposures.
6. Make the Background and Foreground Contrast
In macro photography, it’s important to keep the background visually clear and uncluttered. Distracting objects or debris can frequently find their way into the frame, detracting from the image’s overall impact. A narrow depth of field means that anything outside of it will appear blurry when shooting at a 1:1 ratio. This offers a chance to make the background and subject stand out from one another.
Putting yourself so that the background is only made up of open water is one way to accomplish this. Try to find a shooting angle that minimises distracting elements in the frame so that the subject is framed only by a blurry background of open water, though this may not always be possible.
In macro photography, solid backgrounds that contrast sharply with the subject are highly sought after. Examples of these backgrounds are blue or black. Increase the shutter speed and use a narrow aperture to restrict the amount of light that reaches the sensor in order to get a black background. Strobes are necessary in this situation because they will adequately illuminate the subject while underexposing the open water, creating a black background. Keep in mind that these settings may cause the histogram to show an underexposed image, but this is what you want to achieve a black background.
Creative lighting strategies like top or side lighting can also help separate the subject from the background, resulting in a composition that is clearer and more eye-catching. Choosing subjects with eye-catching backgrounds or patterns can further improve the overall effect of macro photos. Maintaining focus on the background and maximising depth of field are two benefits of the tight aperture.
ALSO READ : What to Look for When Diving in Raja Ampat
Enjoy a Diving Trip in Raja Ampat and Komodo with La Galigo Liveaboard

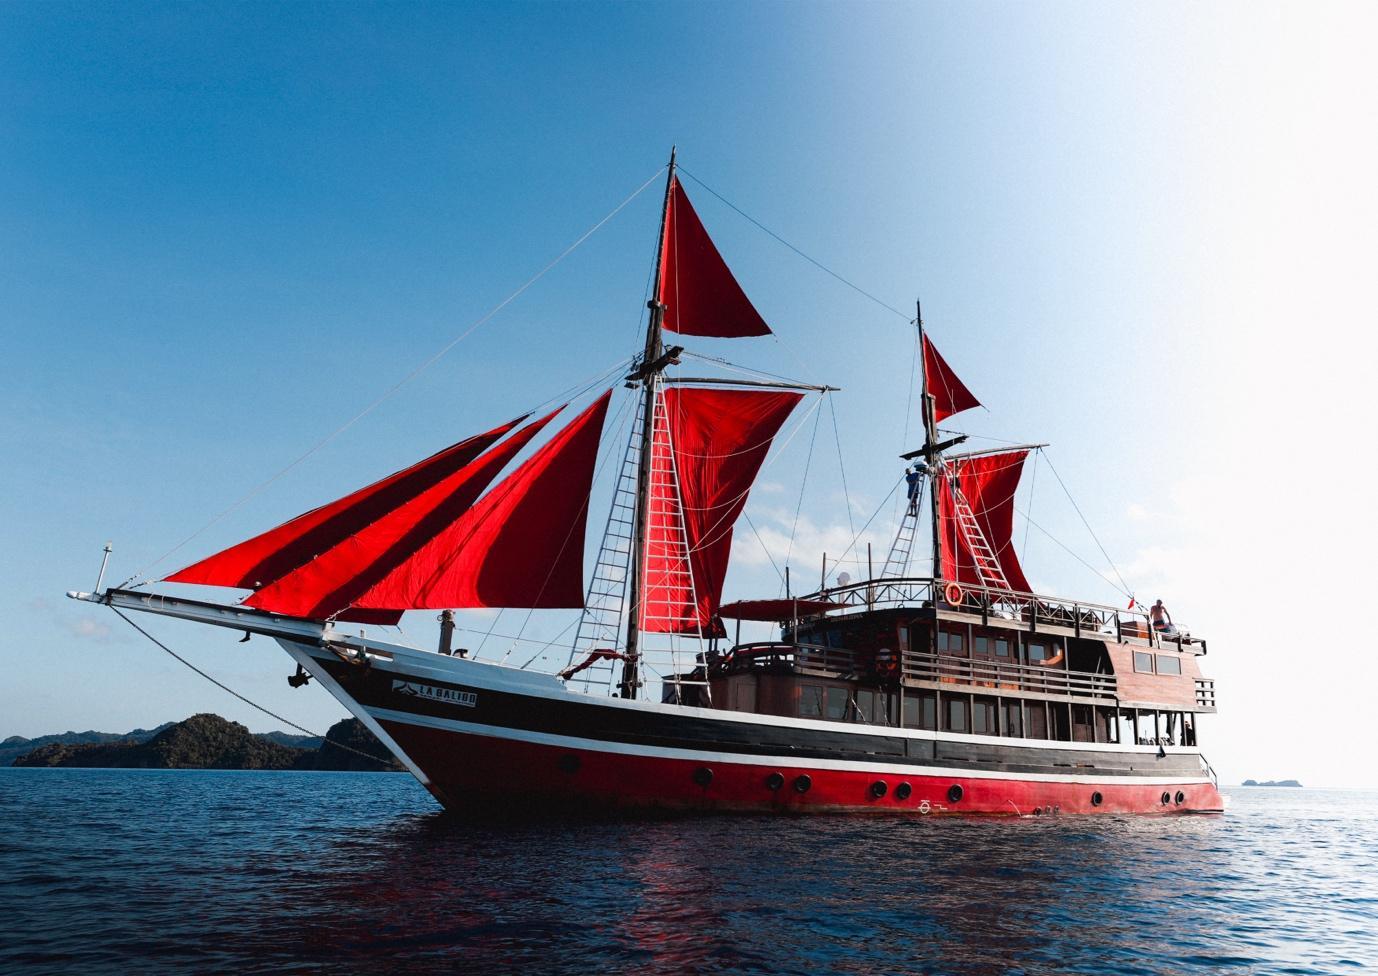
La Galigo is known as one of the best liveaboard diving boats in Raja Ampat Indonesia, and it offers trips to well-known diving destinations such as Komodo and Raja Ampat. The Coral Triangle is located in Indonesia, which has the highest marine biodiversity on the planet.
La Galigo Liveaboard Diving was founded in 2015 by two avid divers who wanted to explore some of Indonesia’s pristine reefs but found that all existing scuba diving options were frequently out of their budget, and wanted to provide an affordable option for everyone to be able to explore these beautiful places.
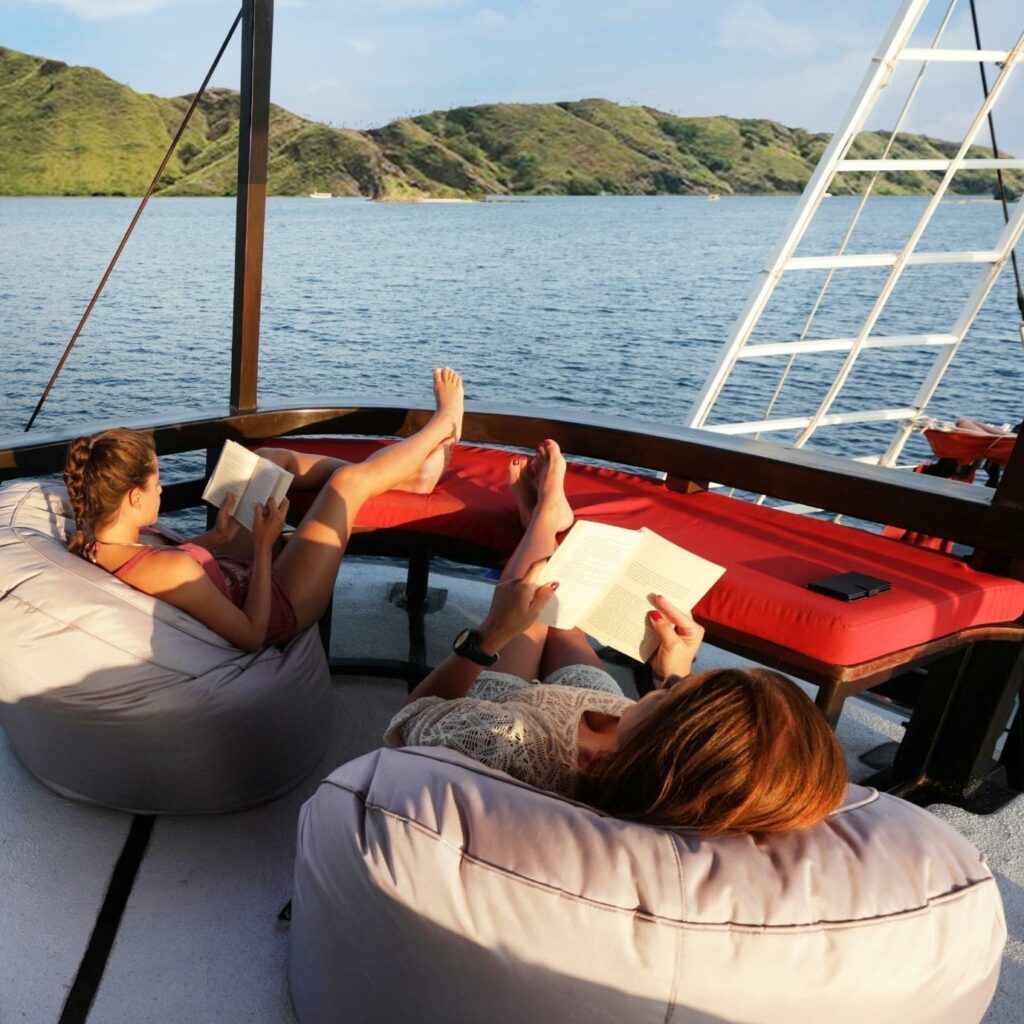
La Galigo Liveaboard Diving in Raja Ampat & Komodo is a friends and family affair, and our liveaboard diving trips are always focused on fun, safety, guest comfortability, and are exceptional value for money. Our trip prices range from $2,160 for a six-day Komodo liveaboard diving trip to $3,375 for an eight-day Raja Ampat liveaboard diving trip. The price includes four meals a day, diving three to four times a day or snorkelling, and land tours.


