How to Make Sure your Underwater Camera Housing Doesn’t Flood

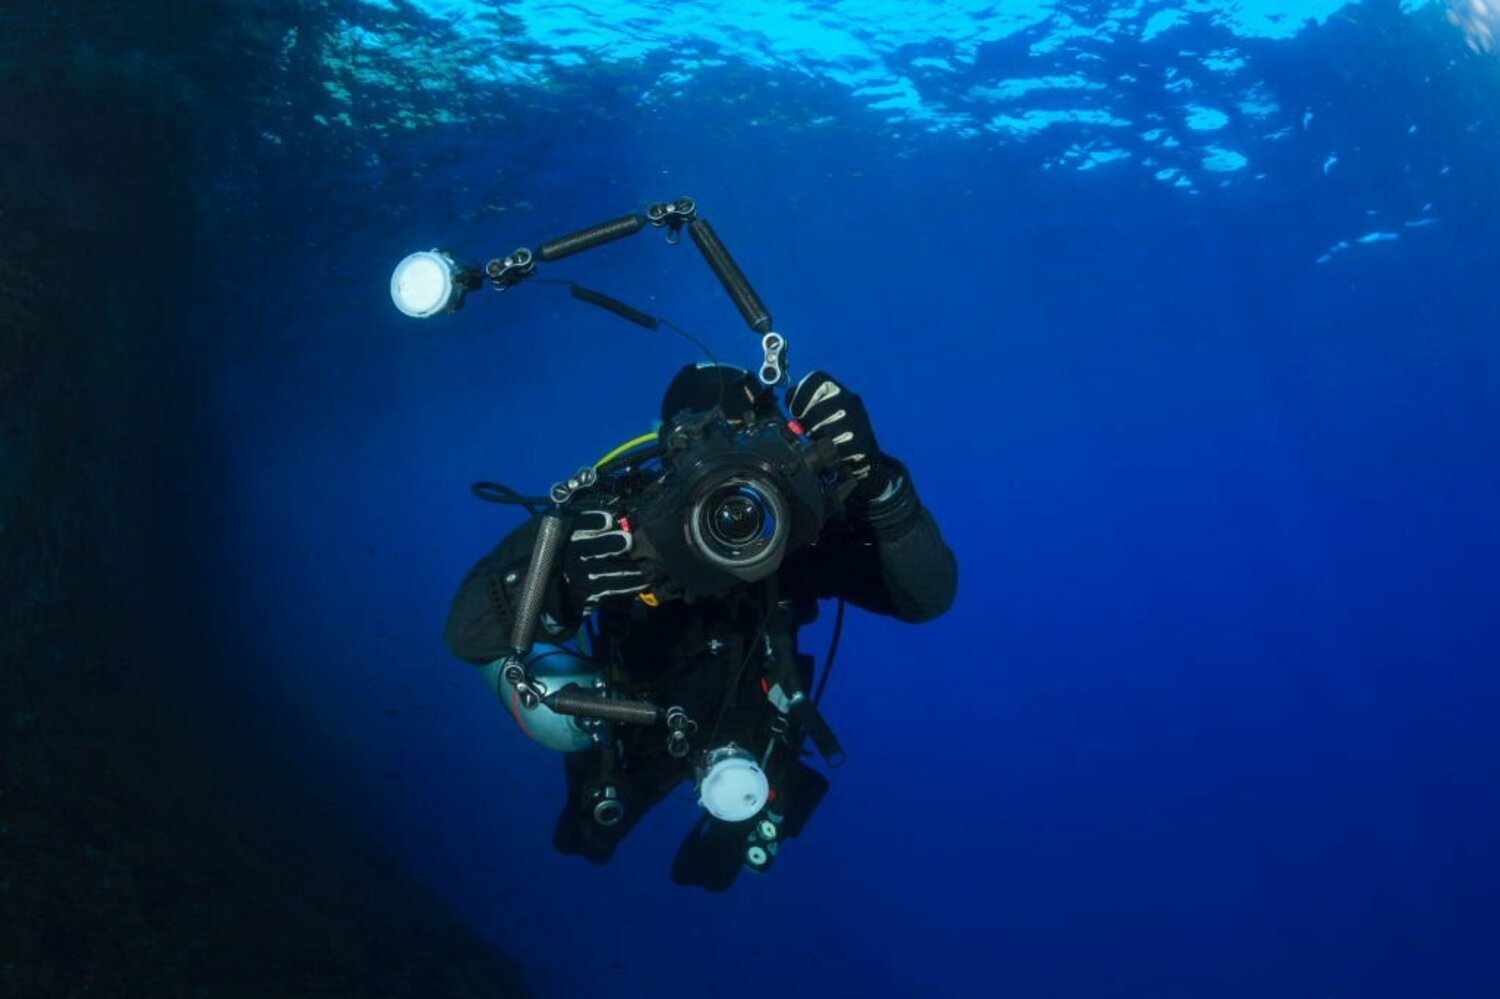
Taking proper care of your camera housing is essential if you want it to survive and prevent leaks and flooding, regardless of whether you are diving with a large camera rig or a compact point and shoot style camera.
This article takes you from the time before your trip’s first photo dive to the time after the last dive. Continue reading for detailed instructions on how to maintain the equipment used for underwater photography.
1. Conduct Camera Housing Maintenance Before Diving
Using a blunt object, like the rounded corner of a credit card, remove the O-ring from your housing (assuming it is attached). To remove the O-ring without damaging the rubber, avoid using tools like knives, scissors, etc. Cleanse the groove the O-ring is in after it has been removed.
A lint-free cloth works best, but tissue can also be used for this. If you find any grit, sand, or even hair in the groove, remove it by checking it under a bright light source like a desk lamp or reading light. The O-ring can be installed after you are certain the groove is clean.
Pinch the O-ring between your thumb and index finger, then feel around it with your grip to check for any foreign objects or grit. Using a tissue is beneficial for this task since you will be eliminating material as you proceed.
After the O-ring has been thoroughly cleaned and smoothed, it should be positioned correctly on the housing and lightly lubricated with silicone oil along its whole length. It is important to remember that the silicone grease is not meant to “make the seal,” but rather to maintain the O-ring in good condition. It is imperative to take care of the O-ring because the water pressure forces it to expand in the groove, which is how the seal is actually formed.
Cut a small square out of a piece of tissue or kitchen roll. Insert it into the housing and close it up. Next, look for bubbles when you place the housing in a wash tank. Note that we did not put the camera inside the housing. If bubbles do not form, you can safely take your housing on your first dive. With only tissue inside, you can take your first dive in confidence to test out your housing knowing you will not damage your camera.
2. Equipment Maintenance for Underwater Photography While Travelling
Just like you did in step 1, get your housing and O-ring ready. This time, you’ll also insert the camera into the housing. There is usually a small gap between the bottom of the camera and the housing, preventing most cameras from sitting exactly on top of it. One tissue square should be taken and carefully folded into a small enough square (or rectangle) to fit into this opening. Alternatively, you could use a sachet of silica gel. In the event of a minor leak, the water droplets are supposed to run to the bottom and absorb into the tissue, rather than becoming “loose” inside the housing and causing damage to your camera. To do this, you can hold the housing upright.
After Diving: Be sure to immerse your camera and housing in a bucket of fresh water or a rinse tank after each and every dive. To make sure that there is no salt residue left on the housing, run some water while paying close attention to the area around the buttons and seal. Before opening, towel dry or blow dry the housing. To prevent dust or other debris from building up on the O-ring or around the seal, immediately close the housing again after removing the camera.
Multi-Dive Trips: Should you be embarking on a two-dive excursion on the boat, make sure there’s a bucket of fresh water available for you to store your camera in between dives. This will help to keep your camera cool and stop the formation of dry salt residue. In the absence of a bucket, rinse the housing with a bottle of drinking water and store it on the boat in a secure, shaded spot in between dives.
3. Conduct Camera Housing Care After Diving
After your last dive, give your camera a thorough rinse. Make sure all the buttons, dials, and controls are free of salt crystals by running water over them. Before opening the housing and taking out your camera, make sure it is completely dry.
Using a blunt tool, remove the main O-ring and set it aside. To make sure there isn’t any grit, sand, salt, hair, or foreign material, use a lint-free cloth to clean the groove where the O-ring rests. Make sure the O-ring is clean by wiping it around with a lint-free cloth.
After applying a tiny bit of silicone grease to the O-ring, fold it into an eight shape, and store it in a zip-lock bag. When not in use, the grease will keep the O-ring from drying out and cracking. Additionally, the zip-lock bag will shield the O-ring from the weather.
After inserting the zip-lock bag containing the O-ring into your housing, close it. By doing this, you can avoid your housing and O-ring coming apart later on. Until your next journey, keep your housing in a cool, secure location!
You can extend the life of your housing and continue to take photos with it on many dives by following these easy steps and keeping it clean, lubricated, and well-maintained. When your camera comes back from dive after dive in perfect condition, it will be grateful for your assistance!
ALSO READ : What to Look for When Diving in Raja Ampat
Enjoy a Diving Trip in Raja Ampat and Komodo with La Galigo Liveaboard

La Galigo is known as one of the best liveaboard diving boats in Raja Ampat Indonesia, and it offers trips to well-known diving destinations such as Komodo and Raja Ampat. The Coral Triangle is located in Indonesia, which has the highest marine biodiversity on the planet.
La Galigo Liveaboard Diving was founded in 2015 by two avid divers who wanted to explore some of Indonesia’s pristine reefs but found that all existing scuba diving options were frequently out of their budget, and wanted to provide an affordable option for everyone to be able to explore these beautiful places.
La Galigo Liveaboard Diving in Raja Ampat & Komodo is a friends and family affair, and our liveaboard diving trips are always focused on fun, safety, guest comfortability, and are exceptional value for money. Our trip prices range from $2,160 for a six-day Komodo liveaboard diving trip to $3,375 for an eight-day Raja Ampat liveaboard diving trip. The price includes four meals a day, diving three to four times a day or snorkelling, and land tours.


